This weekend I tackled my first furniture makeover! I was so excited to start this. I have a lot of my own furniture that I is a hand-me-down, yard sale, or thrift store find. I have been looking forward to finding the time to do this – it has been several years in the making! I have steps, tips and lessons learned (you can’t have a first project without learning a thing or two)!
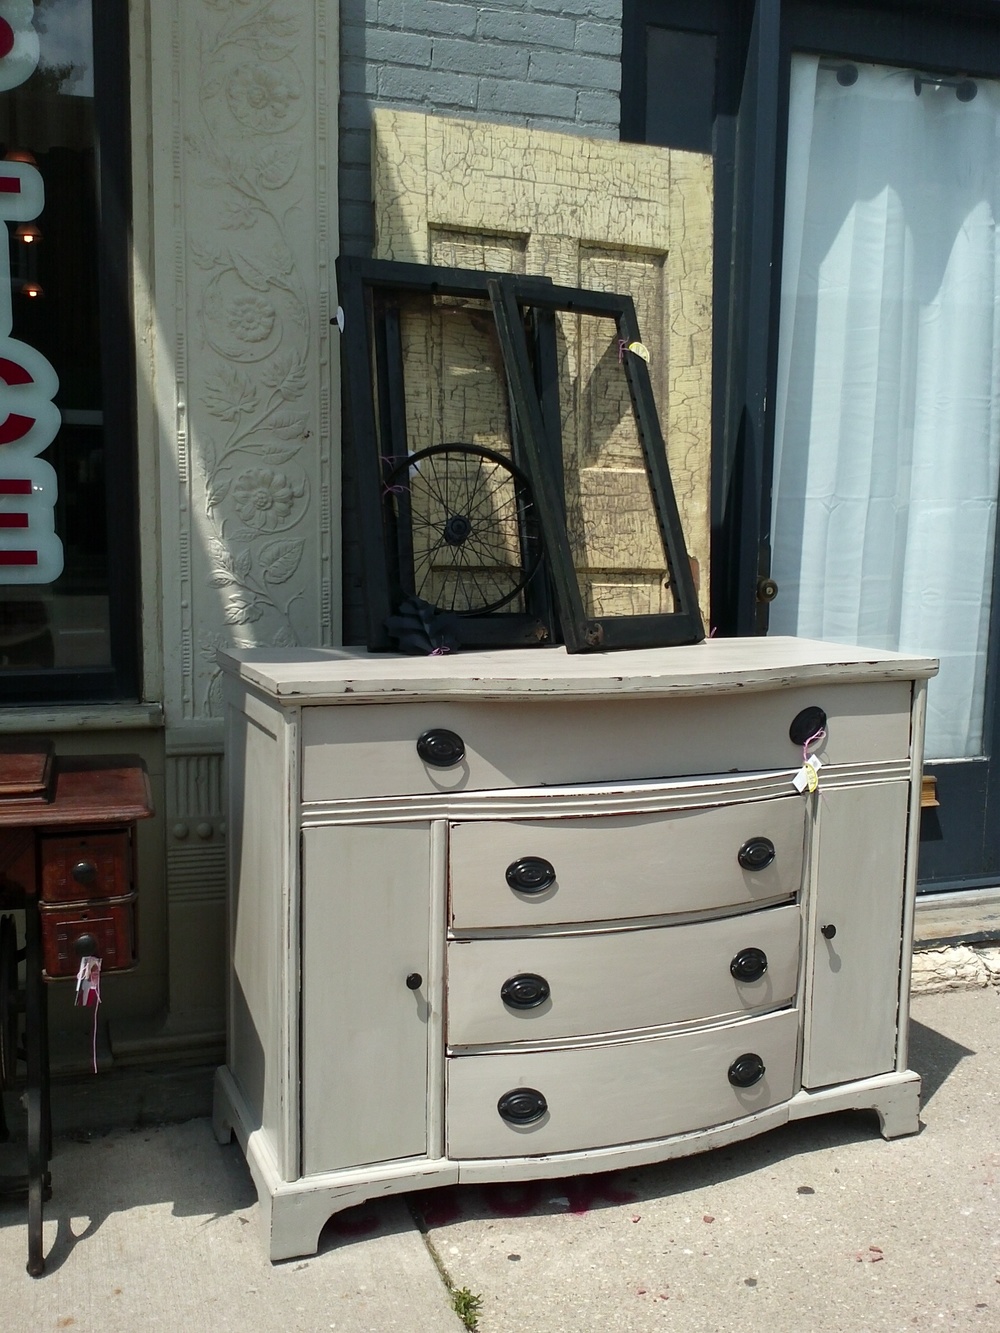
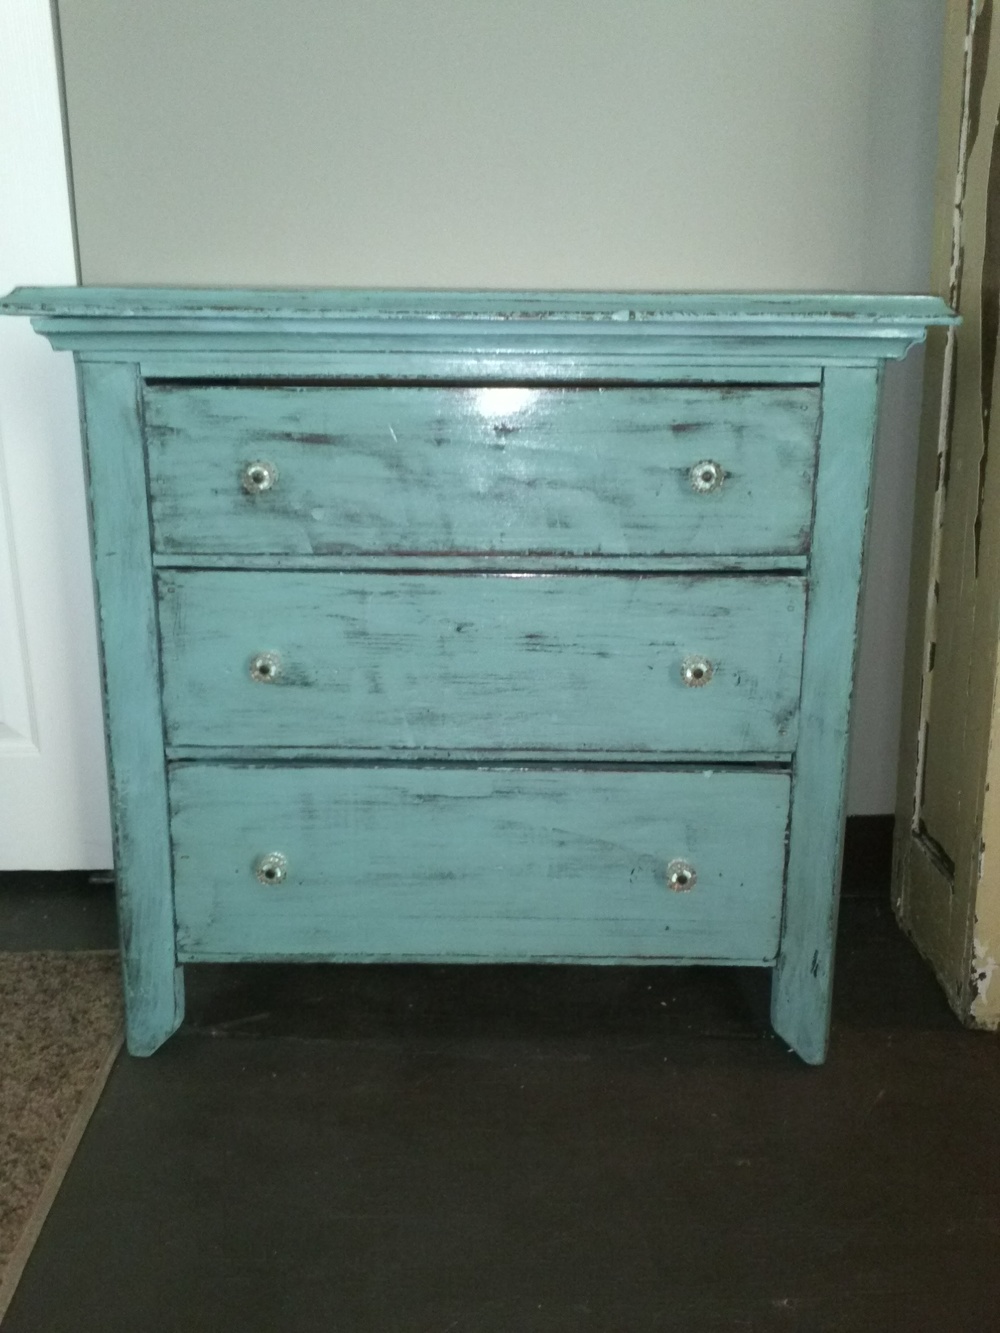
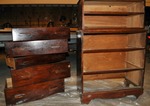
1) First, I bought this great dresser from a thrift store for $25 (give or take a buck) – I bought a bunch of stuff that day I can’t really remember. It was pretty sound – nothing that can’t be fixed with wood glue and some nails.
2) I have done a lot of reading on furniture painting – so I tried to do my homework before starting (good for me – I don’t usually do that).
3) I selected my color. I wanted something bold – but would still match my furniture. I love blues and greens – but, I wasn’t sure where I was going to put it so I wanted something a little neutral. I decided to stick with my lemon theme – yellow, bright vibrant Amber Magic yellow!
4) Bought supplies. I had to start from scratch on supplies. So, the initial investment was a little more costly but I will be able to use these for multiple projects:
Paint - $16
Paint brush - $4
Grout - $5
Stain - $5
Hand sander - $8
Sand paper - $6
Handles - $20
5) Using the chalk paint – you aren’t supposed to have to use a primer or have to sand first (I LOVE eliminating steps)! The recipe for the chalk paint is approximately 1 Cup of latex paint to 2 Tbls of sandless grout. It should look like cake batter.
6) I painted. The first two coats didn’t cover like I wanted so I needed to do a third.
7) I did some light sanding after.
8) Wiped off dust.
9) Then put the stain on with a brush and wiped it off with a rag.

I love my lemon dresser!
Lesson learned: I couldn’t get the handles off initially so I decided to leave them on and painted them while attached. That caused streaks in my paint, hard to cover handles, and I didn’t like the way it looked. While laying in bed I was being haunted by those handles. So, I decided to give them another try to get them off. With a little luck, a rubber mallet, and my brother for the stubborn ones the handles came off! I had to back track a few steps. I had to re-sand and repaint where the handles where… that’s right, three more coats… 3 more hours of waiting between coats… ugh! I am so impatient! Then I sanded, stained, and wiped. I put the new handles on and the drawers back in the dresser and (almost) PERFECTION !
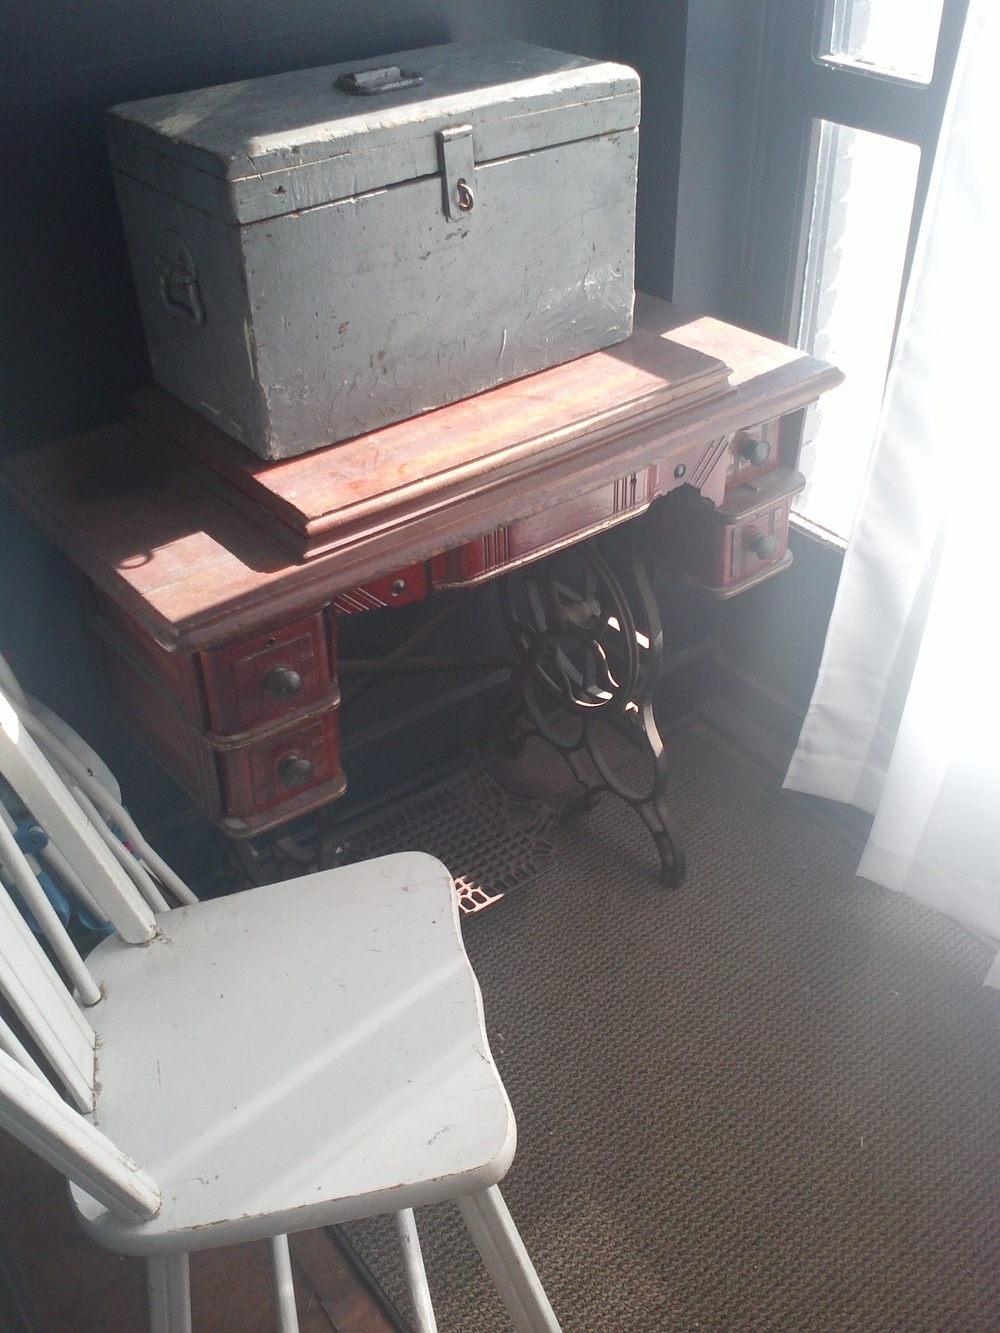
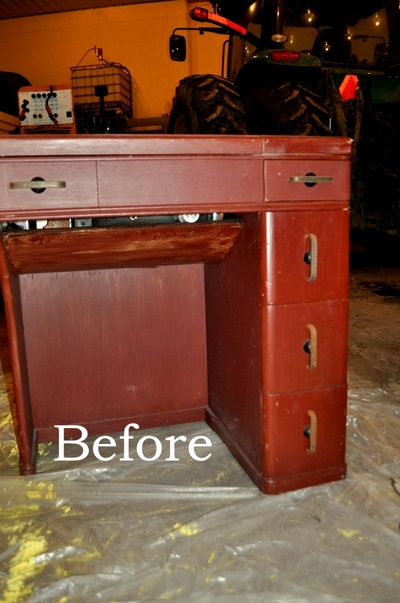
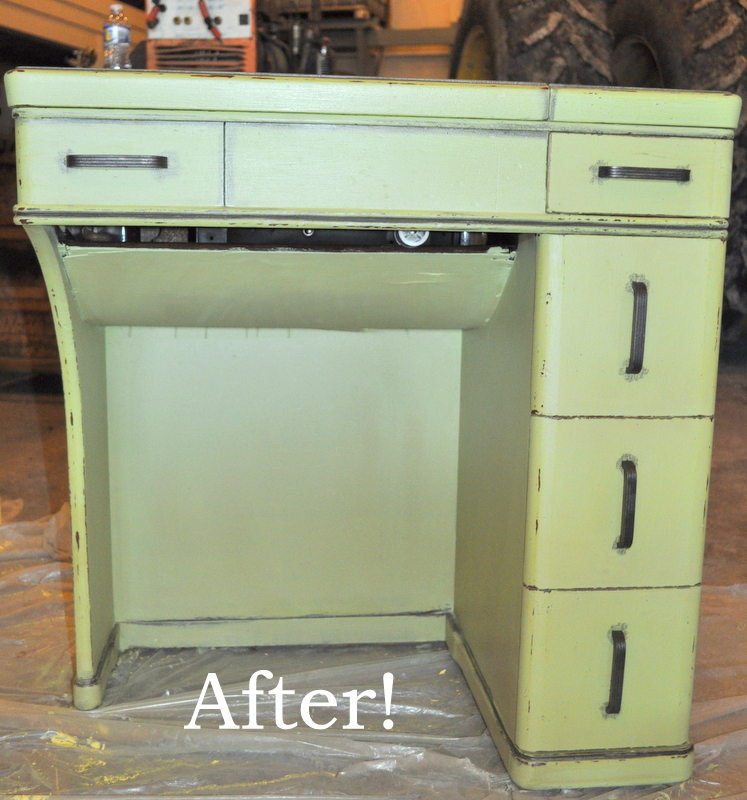
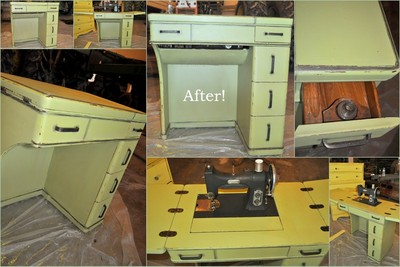
My mom was cautious of my color and technique – but after she saw the final product, I won her over! I convinced her to let me paint a stand in the bathroom BLUE!! I can’t wait!! That is on this weekends to-do list! Also, I just bought an hold sewing table to conquer as well!